Excercise 1

Work.

In is exercise, I try to use the element downloaded from the internet. I picked the mouse and cat as my object from the "turbosquid.com".
So here is my first animation, it is about the cat is chasing the mouse, but then the relationship changed.


I put different angles there, to show that I try to use lighting to express the special atmosphere. I used red light to create the danger emotion, and light from the lower angle to create a horror feeling.
Process.

Notes of shortkeys:
(obj and fbx are file name for 3D)
1. Z - different mode
2. X - delete
3. shift A - add cube
4. Ctrl + Alt + 0 -camera view
5. shift+d - Duplicate
6. Lock to Camera View
7. alt + G - bring sth to the center point
8. F- add face
9. shift + right-click: move 3D cursor
10. To unjoin my object: mesh-> separate -> selection
Problems sloved:
1. Annoying yellow point ( which I found out that it is the object origin) :
move mesh to the center point, move The Object Origin
2. I want to go to the camera view, so I press num pat 0, but my blender have no response :
(Viewport not going to camera when I click numpad 0) , turn out there is some setting problem.
3. Export problem: tick "file extension" to get my PNG file, if not, I can only get "textedit" file
4.Export problem: can't export to MP4, but then find out should press MPEG-4
To remind myself of the output setting, see the picture ----->

Excercise 2
Process 1
22.9.2020

In this excercise, we made models of building. This is my first try that is following Peter's tutorial.


Public housing in Lam Tin, the place where I live.
Here is the references of my building. It is the opposite estate from my house perspective.
Process 2
29.9.2020

I add on some details like air conditioner and railing.

Problem 1 :
The textures are not in the right scale

I start to put on some textures and colours.

Problem 2 :
The tube is not in the right position,
but I don't know why to rotate it.


I basically choose these two green textures as the clothe of my building. The grey line is the surface of the air-conditioner.
And iron texture is for the tube.
Process 3
6.10.2020

Problem sloved:
The tube is on the right position now,
Just simply rotate it through X axis.
The reason why I couldn't rotated it last is beacuse I mixed up X and Y axis.


Texture sclae problem sloved:
In shading, I apply colour grid in the "generated type".

I also add on some grilles of public estate.

Problem 3:
I don't know how to take out the gap between my floors to form a towel.
Problem sloved:
By changing the Factor Z!!! (stupid haha)


I applied four Array modifers to form one single building.

Important notes about saving project:
File--> External Data --> Automatically Pack into blend
Out put
(Week5)
12.10.2020


Problem 4: The glass on the window is strange with an unknow reason after rendering.

Image render with HDRI background.
Video Problems:
1. Only 6 seconds --> 10 seconds, please!
2. The opening is blurry ( The camera does not focus)
3. Too hard to render with both CVA computer and my own mac book pro ( It is a disaster to render this large file, it made every computer‘ system Crash)
Excercise 3
Out put
(Week6)
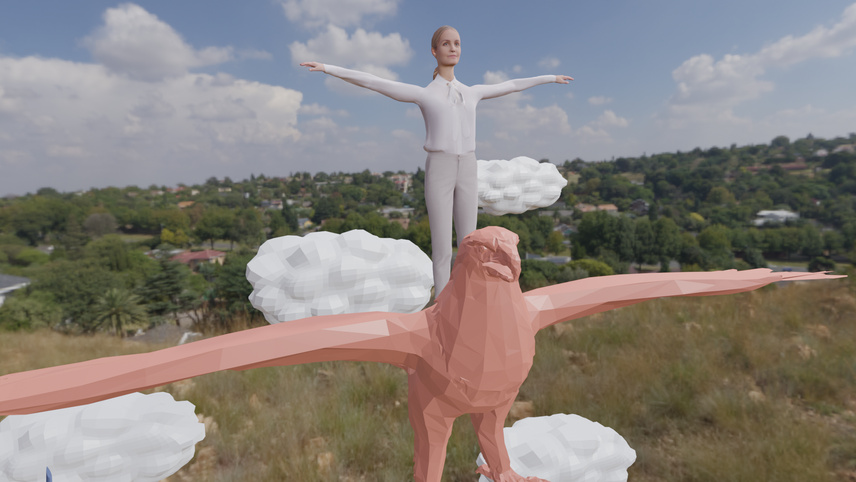
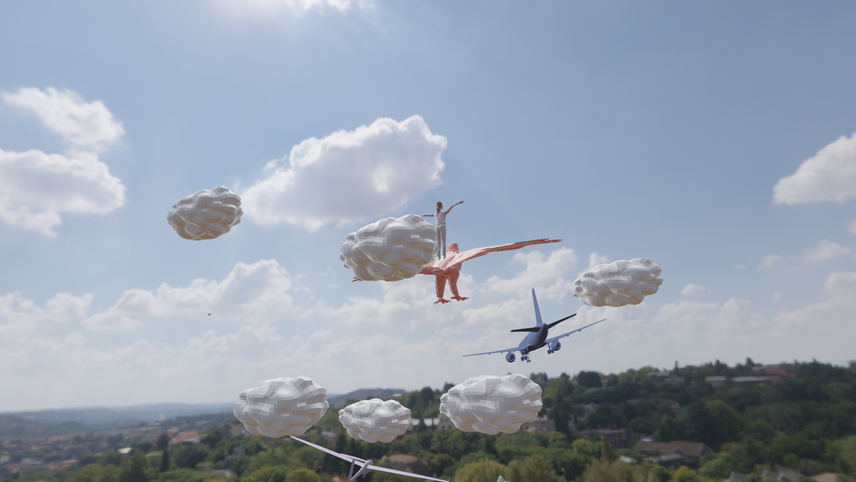
In this sound-driven animation, movements of clouds and planes are following the rhythm of sound.
Also, I learnt about character keyframing. This is the first time I use pose mode to control the movement of human model.

This is the female character I downloaded from TURBOSQUID. By Renderpeople.

Glider Flying Free 3D model by EGPJET3D.
Downloaded from TURBOSQUID.


Airliner B-757 by DianMozokov.
Downloaded from TURBOSQUID.
White Eagle Low Polygon Art Bird Animal 3D model 3D model by SHULDYAKOV.
Downloaded from TURBOSQUID.

Process


To transform the mesh from a cube to cloud, the following steps are:
1. Subdivide the cube by subdivision surface modifier
2. Click catmull-clark
3. Turn it into a sphere by increase the amount of viewport
4. Sudivided it once to get a round edge cube form
5. Use Blob in the sculpting mode to create cloud form


.png)
For the mountain parts, I choose kowloon, Kwun Tong in the map.
I found this website is super easy and useful to create nice mountain shapes.
Subdivision surface modifier and displacement modifier are used.


Problem faced:
Every things are going well at the begining, but then suddenly the keyframes are hidden, I can't see any keyframes on the timeline.
Problem sloved:
With help from Peter, I can see my keyframes if I switch from the graph editor to the timeline.
Also, I can check the Normalize button at the bottom toolbar of the graph editor, and all curves will be clamped between -1 and 1 so I can see them all in a more condensed area of the graph.


